
The MSP-EXP430G2 LaunchPad is an easy-to-use flash
programmer and debugging tool for the MSP430G2xx microcontrollers.
It features everything you need to start developing on an MSP430
microcontroller device for just 300-400 rupees. It has on-board emulation for
programming and debugging and features a 14/20-pin DIP socket, on-board buttons
and LEDs & BoosterPack-compatible pinouts that support a wide range of
plug-in modules for added functionality such as wireless, displays & more.
In this tutorial we will see how to get starting with the msp program very first time.
step 1: First download the code composer studio. DOWNLOAD
step 2: Now install it and connect the device to the computer.

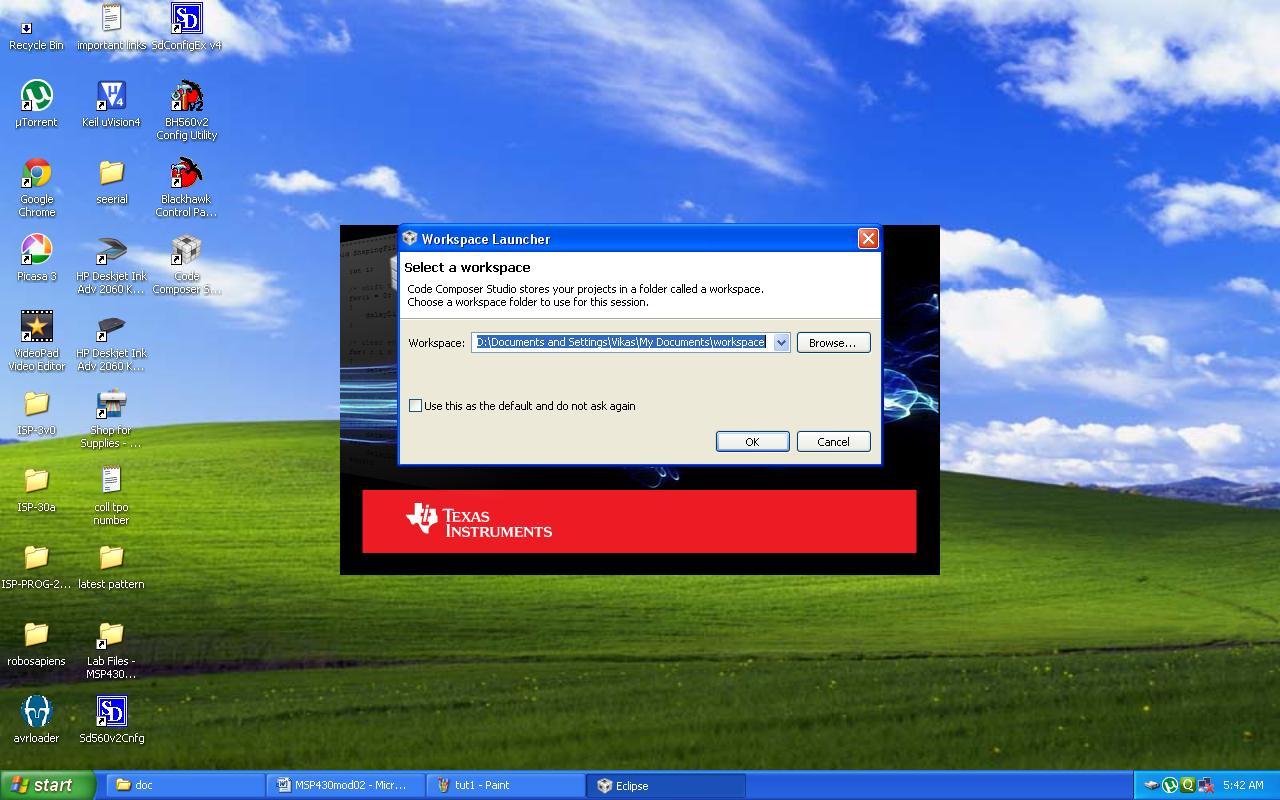
step 3: Open the code composer studio. Select the path of the workspace where you want to store your project.
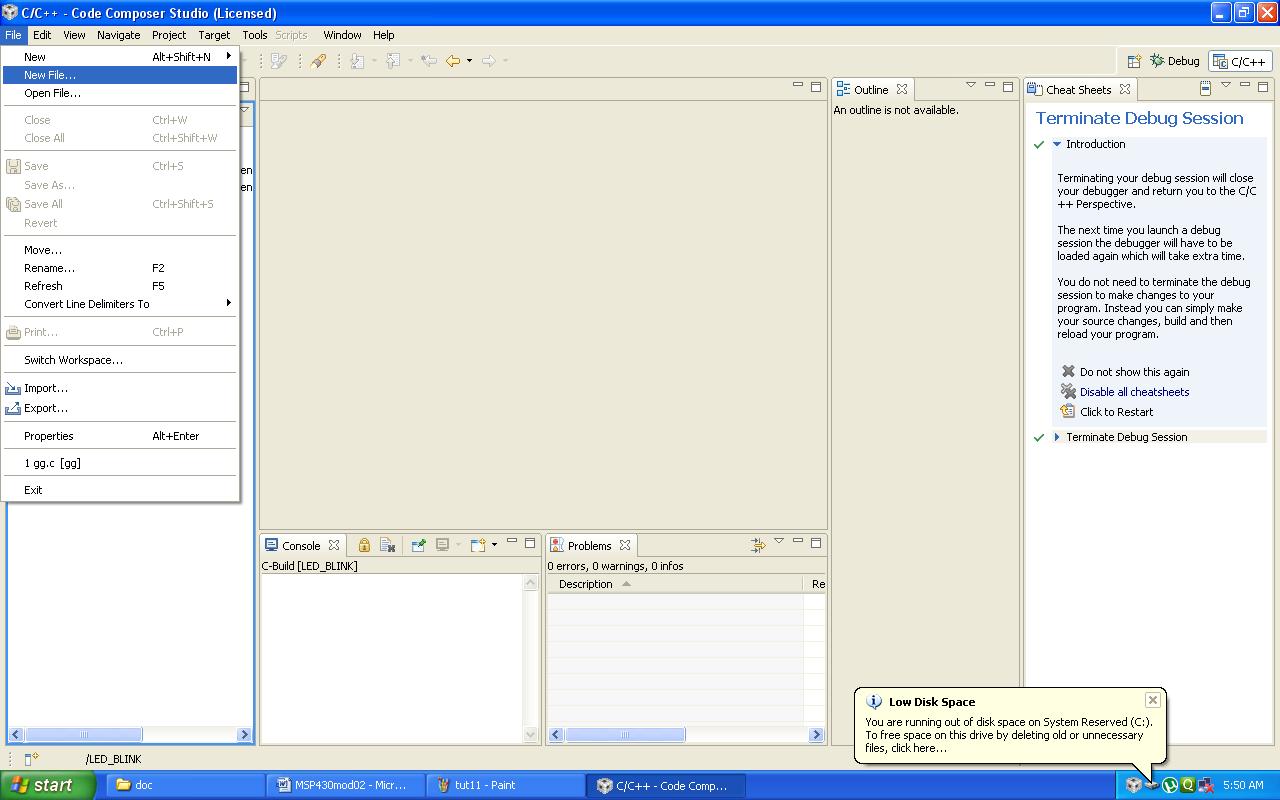
step 4: Now the project window is appear. This is the entire environment in which you write the c code and dump it into the microcontroller.

step 5: Go to the file menu and select new in the new option you will see various project option in which you will chose the ccs project.
file-) new -) ccs project

step 6: Give the project name and path of the location.

step 7: Now its time to select the type of the project. select the platform chose msp430.

step 8: This is an optional or additional feature if u wish to include any other project or c file so we do not need to do any thing with this just click next.

step 9: Select the Output file as EXECUTABLE and your microcontroller in this step as shown in the image below.

step 10: Now select the project templet as you are new so chose the empty project .

step 11: after the step 10 your window will look like this .

step 12: Now make new file.
> file-) new file
step 13: Put the new file name with extension .c.As in first program write it led_blink.c.

step 14: After the 13th step the window will look like ..

step 15: Now write your code of led blinking. mine is in the image below.

//***********************************************************
// LED BLINK
//***********************************************************
#include <msp430g2553.h>
#define led1 BIT5
#define led2 BIT0
void main()
{
WDTCTL = WDTPW + WDTHOLD; // Stop watchdog timer
P1DIR = (led1+led2); // P1.0 & 6 output (red/green LEDs)
P1OUT = led1;
while(1)
{
P1OUT = 0; // green LED on & Red LED off
_delay_cycles(500000);
P1OUT = 1; // green LED off & RED LED ON
_delay_cycles(500000);
}
}
step 16: Now compile it by using build all in the project bar. and you can also use ctr+b
project-) build active project

step 17: Now launch debug button if your device is connected with the computer it will burn your conttroller.


step 18: Now hit the terminate button in the screen and disconnect the device and reconnect it your code will run and use these steps for your further development best of luck.
video tutorial will be coming soon.....
video tutorial will be coming soon.....

Post a Comment